How to Plan and Install a Gravel Path

Add curb appeal to the front yard by installing a gravel path. The right pathway can gently insist visitors, trick-or-treaters, or Christmas Carolers stay off your lawn. After all, as a homeowner, you put a lot of time into manicuring and landscaping your lawn and the last thing you want is for someone to trample on it!
Here are 4 steps to successfully plan and install a gravel path in your yard in a way that won’t break your budget. Gravel paths are great because they can be planned in many different directions and angles without needing to cut stone.
Tip: Gravel is great in areas that receive a lot of rain and these paths are also hardy in the cold!

STEP ONE: Plan It Out
Before I do any landscaping I need to be able to envision it. I like to sketch out my yard before I start digging. Make sure you’re certain about the placement of the walkway before you begin to avoid a big mess in your yard.
Mark on your lawn where you’d like to build your gravel path. You can do this with a length of rope and some spray paint. Look for line-marking paint that allows you to spray downward. Alternatively, you can use builders’ line and line pins.
Now that you’ve decided just where your path will lay, it is time to dig.
STEP TWO: Dig It Out
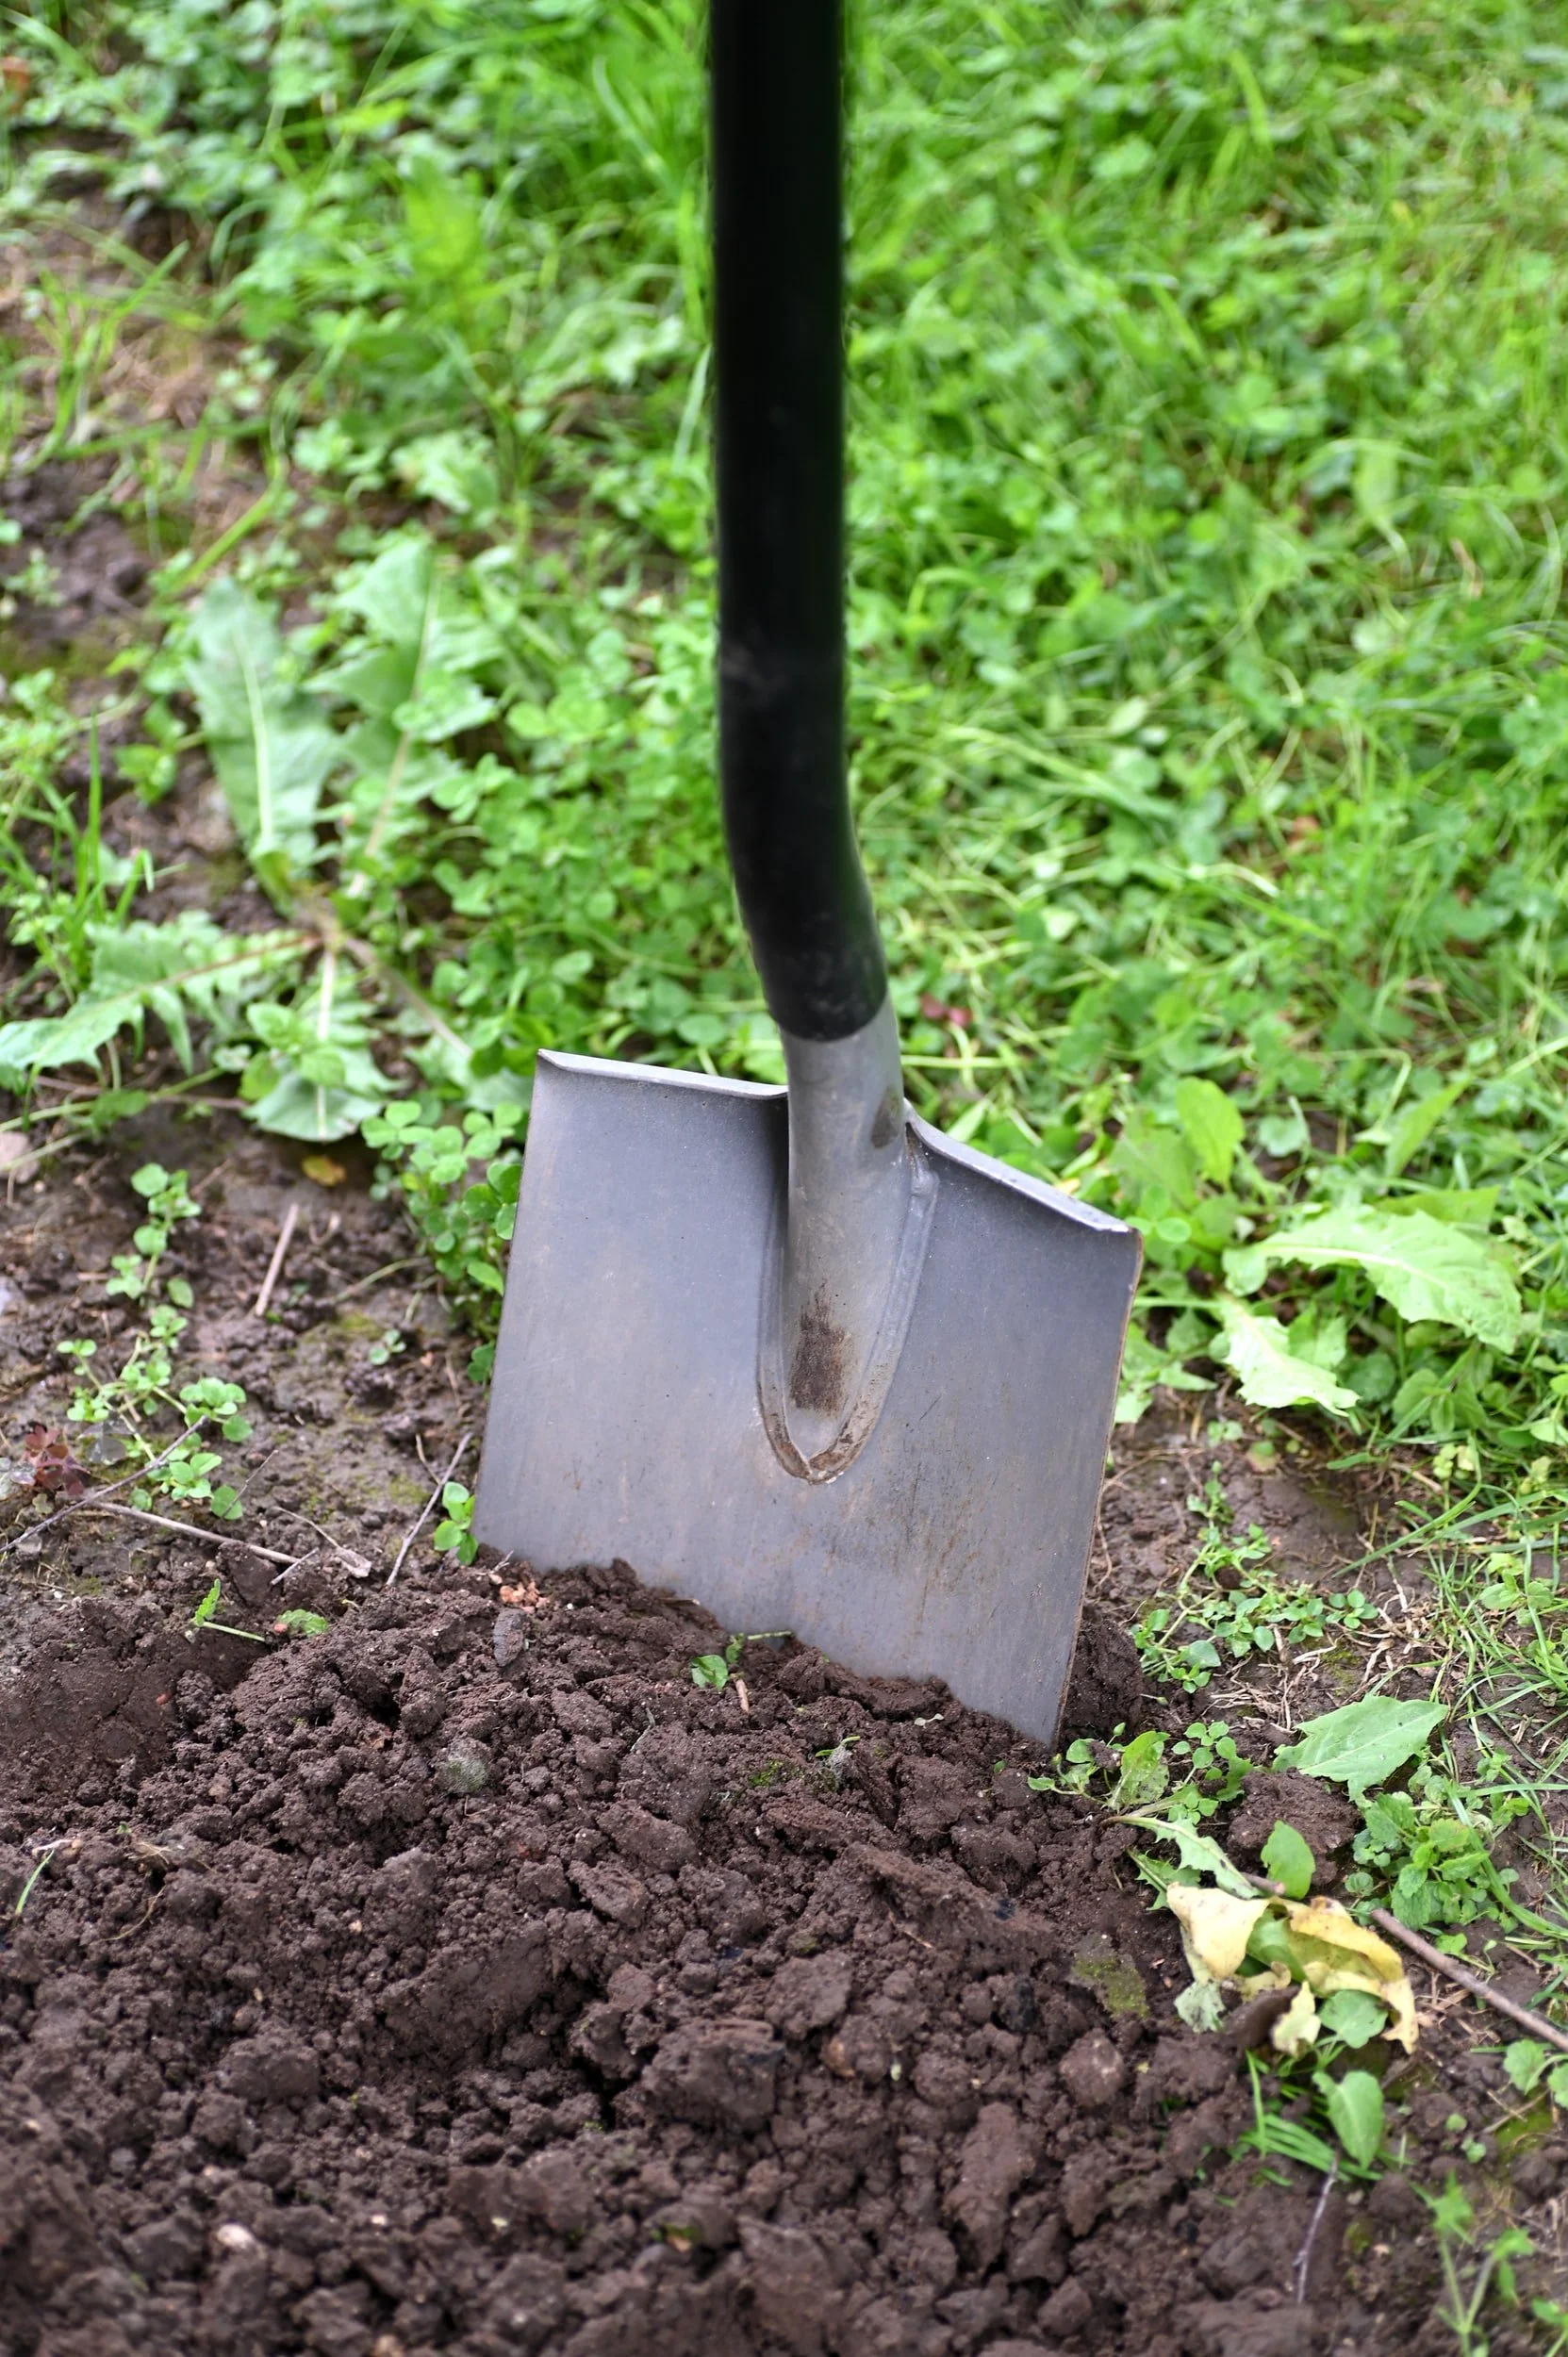
Remove 4 inches of soil within your drawn borders. Try to keep the edges and bottom of your path as flat and smooth as possible to make the next steps easier on yourself. And yes, this is going to get a little heavy so be prepared with a truck for moving, a wheelbarrow, and a neighbor or two to assist.
Dig with a square-edged spade and check the depth as you go with a yardstick or tape measure. Compact the bottom of your trench with a 6 or 8-inch hand tamper- whichever seems more appropriate for the space you are preparing.
STEP THREE: Prepare the Trench
Line your trench with 2 ½ inches of crushed stone or base rock. This is going to keep things from shifting around. Tamp this down with your hand tamper. It should compact to about 2 inches.
Next lay Landscape Fabric. You’ll need to weed this area monthly but laying Landscape Fabric will help keep weed and grass growth to a minimum.
Now you’ll lay down your edging material. The gravel won’t stay in place unless you create a border for it. You can use synthetic bender board or something more sustainable like concrete, metal, stone, or brick. Whatever you decide you’ll want to make sure that the path remains equal width apart. Create a template spacer bar to keep your edging material an even distance apart.
Line the inside of your trench with the edging pieces. This will go on top of your Landscape Fabric. Join the pieces together following the instructions from the manufacturer.
Tip: Use a wooden block (to protect your building materials) and a hammer to tap the edging into the ground.
STEP FOUR: Fill the Trench
Now it’s time to fill your trench with gravel. Pour gravel into the trench to top things off. You can leave a ½ inch of space on the top of the trench. Use our handy calculator to see how much gravel you will need to purchase or you can consult one of our experts by contacting us.
Tip: You’ll need to maintain this space by occasionally adding more gravel, straightening things out with a metal rake, and pulling any weeds that crop up.